Step 3 Database Setup
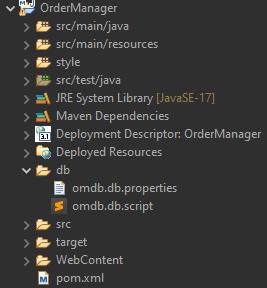
In this sample application, we're using a database to show orders, customers and suppliers. First, you will have to create this database that will be working in the background. It will provides us with all the necessary information. This sample uses an HSQL database, but you can choose any other database type. To create the database, download the sample database . Create a new folder with the name "db" in the project root folder and unpack the downloaded file into this folder. The database is now on your computer.
The next step is to include the JDBC database connector in the project. To do this, open POM.XML in the project root folder and copy the following to the dependencies:
Once you completed this, the POM.XML will look like this:
As a result, the HSQL JDBC driver is included in the project as a dependency and is automatically downloaded by Maven. The next step is to specify the parameters for the database access in the persistence.xml . You can find this file as a project resource in the META-INF folder. Modify the file so that it contains the following:
- Delete the non-jta-data-source tag
- Place the following properties within the properties tag:
- <property name="javax.persistence.jdbc.driver" value="org.hsqldb.jdbc.JDBCDriver" />
- <property name="javax.persistence.jdbc.url" value="jdbc:hsqldb:file:${basedir}/db/sbs.db;hsqldb.lock_file=false" />
- <property name="javax.persistence.jdbc.user" value="SA"/>
- <property name="javax.persistence.jdbc.password" value=""/>
- <property name="eclipselink.target-database" value="HSQL"/>
After this modification, your database is all set up and now you're ready to use it.