Step 9 Testing
Once you have done all this, all you have to do is compile the application. Use the Eclipse IDE to do this or you can manually compile the application.
Compiling the application using Eclipse:
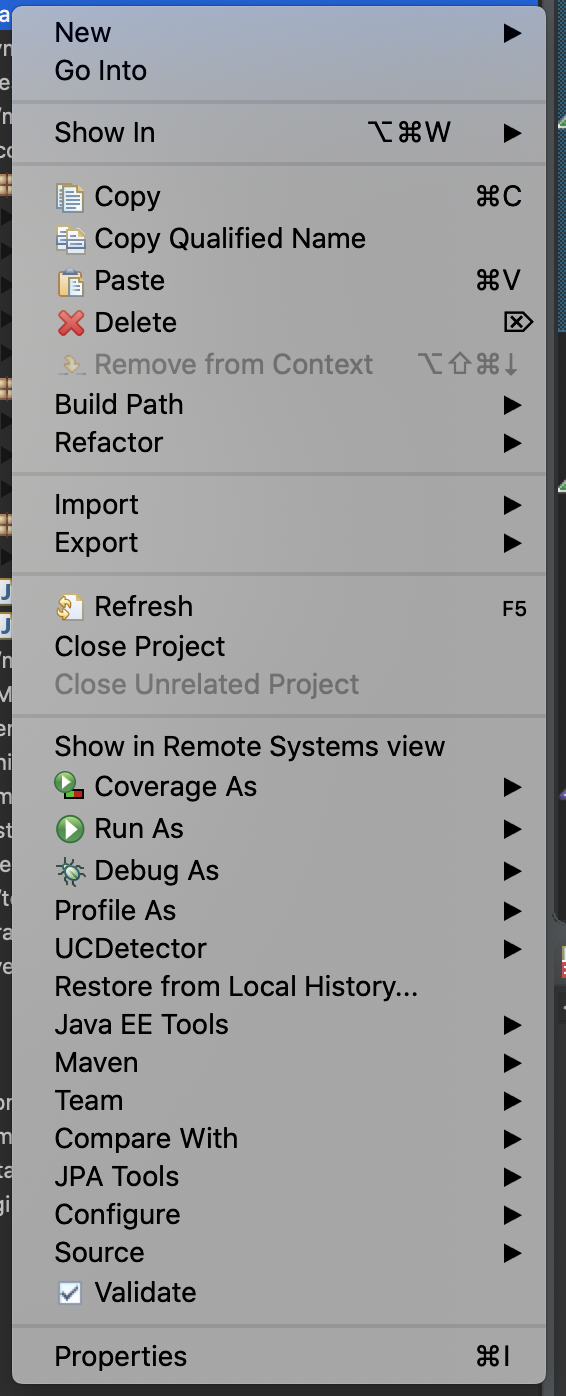
Select the project from the treeview on the right side of the IDE window and right click it:
Select Run As and a new menu appears:
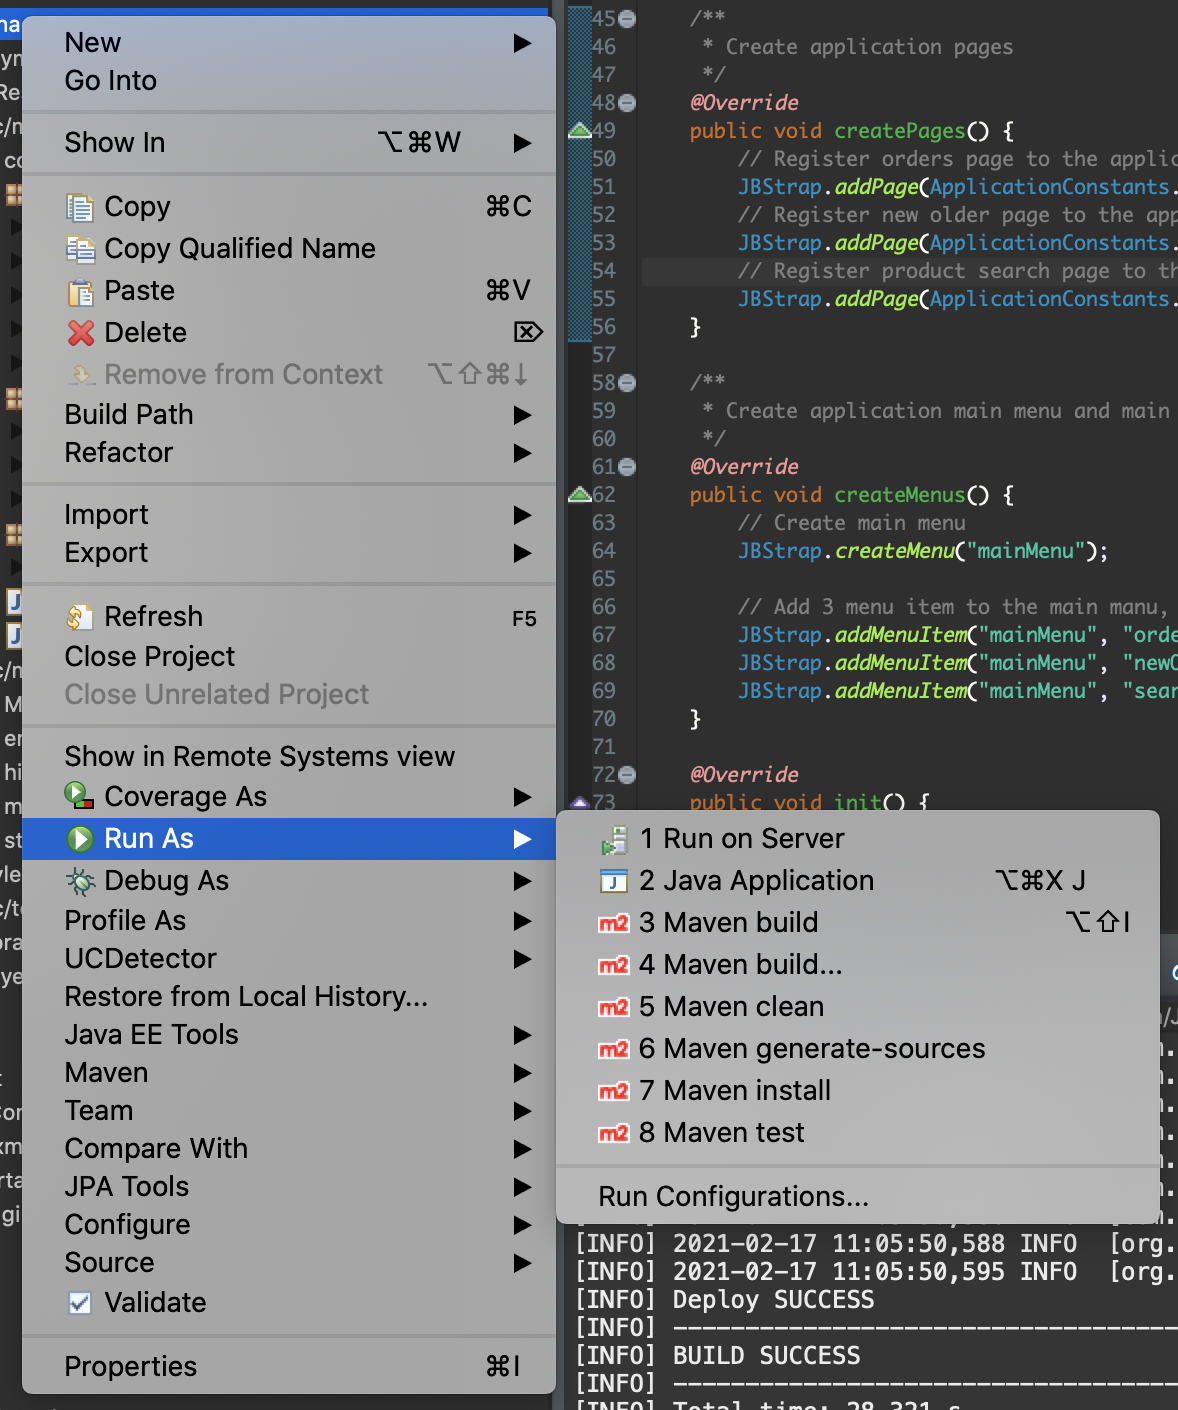
Select Maven build.... In the pop-up window, enter clean install, then click OK. The application is now compiled.
As for manual compiling, all you have to do is open a terminal window (Windows: Command prompt) and then navigate to the main project folder. When in the main project folder, enter the following:
Compiling has now started.
Once all the compiling is done, start the application server. Deploy the application. If you use a WildFly server, you can start it by running the bin/standalone.sh executable file in the server folder or the bin/standalone.bat command file (for Windows).
Once the server started, copy the .war file from the project’s target folder to the standalone/deployments folder in the server folder. You can now see in the log that the application has started and it is ready to use.
You can download the project source code .
To try it out, open the browser and enter the following URL:
http://localhost:8080/Application
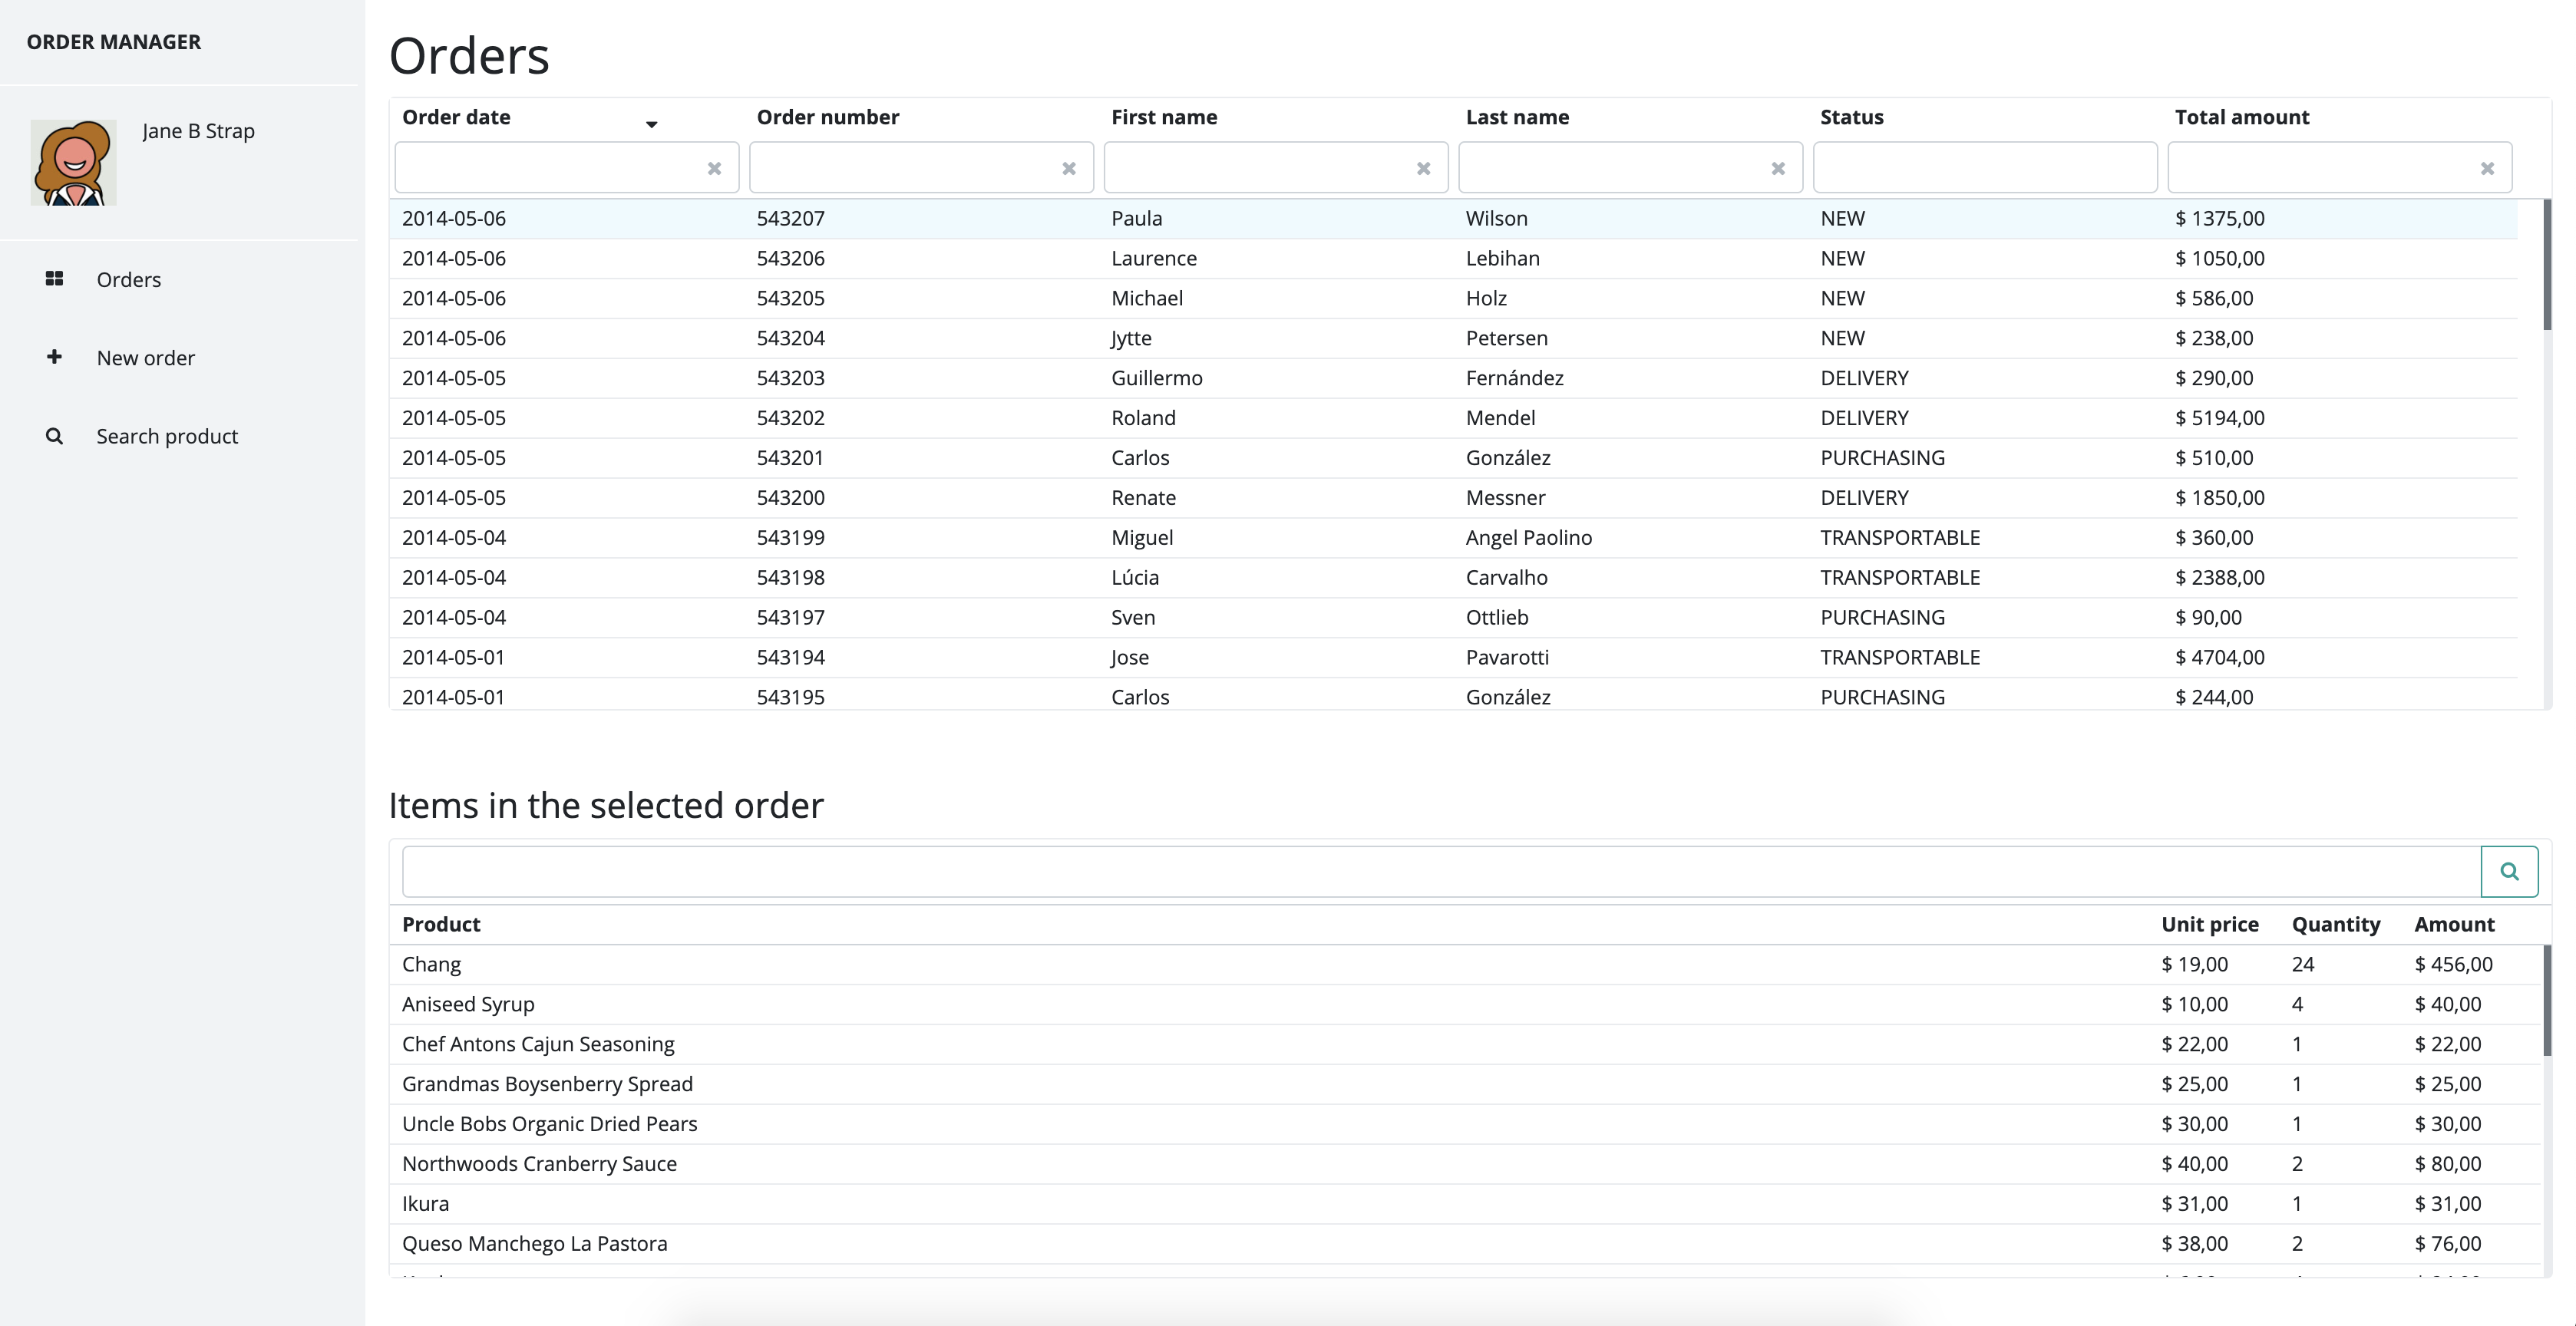
You should now be able to see the application’s starting page (the orders list).